
Description
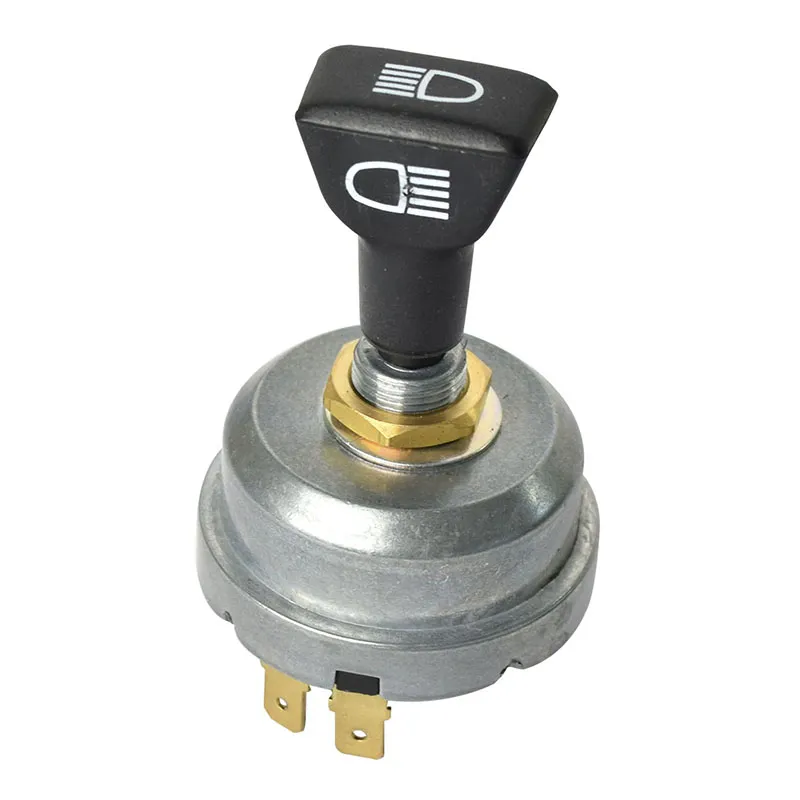
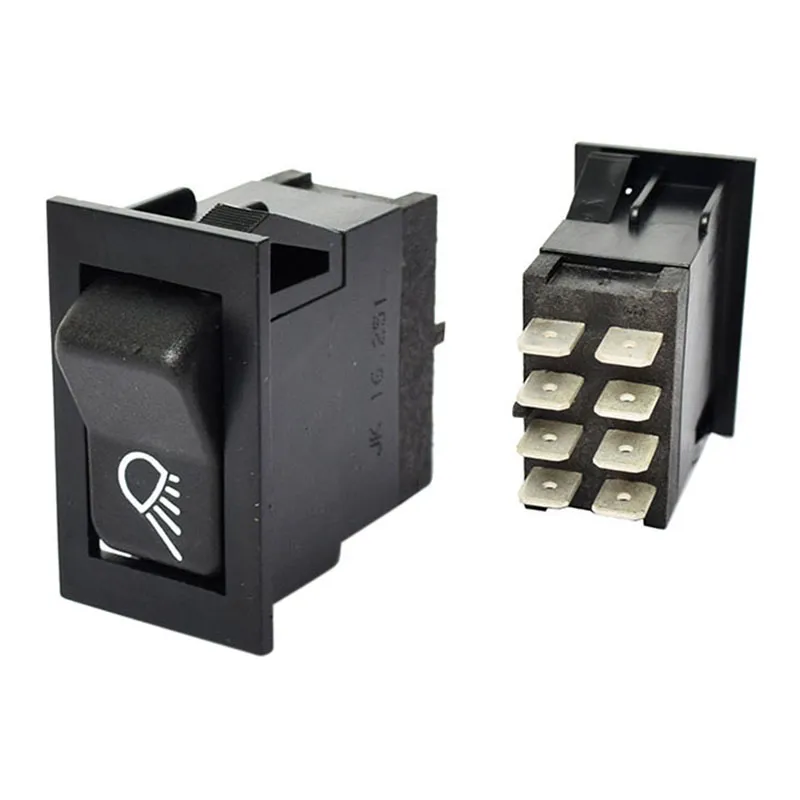
Nothing’s more important than seeing where you’re going when you’re heading home after a long day or doing early morning field work. When your headlight switch starts acting up—maybe the positions don’t feel solid anymore or you can’t get your main beams to stay on—you end up fiddling with it instead of focusing on the road or your work. This 4-way rotary switch gives you reliable control over your tractor’s lighting system so you can safely get where you need to go.
What You’re Getting
- Four solid positions: off, side lights, dip beam, and main beam that click into place and stay there
- Works with both 12V and 24V electrical systems, covering most Ford New Holland tractors
- Heavy-duty construction that handles the constant vibration and weather your tractor dishes out
- Universal design that fits the standard dashboard mounting hole with no modifications needed
- Positive detent positions prevent accidental switching when you hit a bump or pothole
Built for Real Farm Work
This switch fits a wide range of Ford New Holland tractors from the mid-1960s forward, including the 10 series, 100 series, and all the way through the TW series. These workhorses spend their days doing everything from loader work around the barnyard to long hauls on county roads pulling equipment between fields. Whether you’re running a smaller utility tractor or a big row-crop machine, proper lighting control is essential for safe operation during those early morning starts and late evening finishes.
Made to Last
The rotary design provides positive engagement in each position, so you know exactly which lights are on even when you’re wearing heavy gloves in cold weather. Built with automotive-grade contacts and materials, this switch maintains reliable electrical connections even in the dusty, humid conditions that come with farm work. The four distinct positions let you choose the right amount of light for the situation—from just enough visibility with side lights to full illumination with main beams when you need maximum lighting.
Good to Know
Installation is straightforward—remove the old switch from the dashboard and connect the wiring harness according to your tractor’s wiring diagram. Make sure to test all four positions before buttoning everything up, and always verify your lights are working properly before heading out on public roads. The switch fits standard dashboard mounting holes, and the electrical connections are clearly marked to match your existing wiring.
Reviews
There are no reviews yet.